

Crystal Clear Electronics 2 Curriculum
An innovative electronics curriculum with real-world examples and step-by-step instructions from basic mathematics to programming microcontrollers and basic control applications.
Recommended for students and hobbyists, ideal for extracurricular courses or self study.
Mobile application
The course material is also available via a mobile application called „Kristálytiszta Elektronika” or „Crystal Clear Electronics” - depending on the language and region settings of the Android device - on Google Play. It also contains the data sheets related to the free course material in an organized manner! The application will be updated in parallel with the publication of new parts of the curriculum.
Videos
The Crystal Clear Electronics videos are available in video format! Each chapter of the curriculum is divided into several short videos to make the content more accessable. You can find every chapter’s first video below the chapters’ links, or you can also open the full playlist here by clicking on the YouTube logo:

Preamble
01 - Number Representations, History of Microprocessors and Microcontrollers
The author(s) of the chapter: Temás Pepó
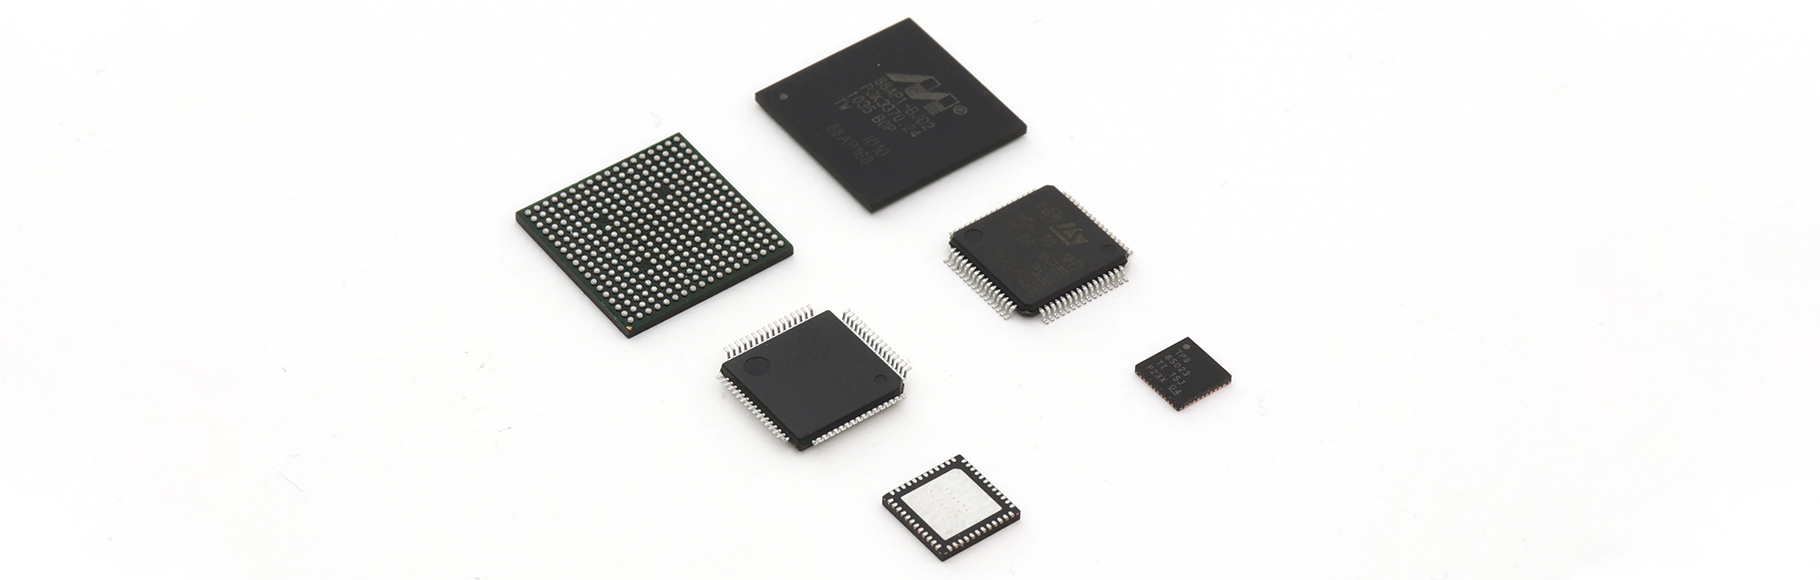
By reading this part of the course material, you can gain an insight into how thousands and millions of transistors become a much more complex, multifunctional circuit when properly connected, and how it led to the world of high-performance microprocessors known today. In order to put together the picture in our head, we must first review some basic concepts.
02 - Advanced Microcontroller Types, ARM Cortex Cores
The author(s) of the chapter: Máté Preinsperger
In this part of the curriculum, you are able to learn about the advantages and disadvantages of different architectures. You can dive deeper into the structure of ARM-based systems, more precisely into the STMicroelectrics' STM32 product line. You can also learn about the needs that led to the development of today's modern controllers.
03 - Low-Level Programming in C Language, Process of Compilation
The author(s) of the chapter: Zsolt Thamó
Now you can learn why some programs can run on some computers and not others. You can also get a glimpse into the mysteries of programming close to hardware and the operation of the C compiler.
04 - STM Programming Environment (CubeIDE, ST-Link)
The author(s) of the chapter: Szabolcs Hadarics
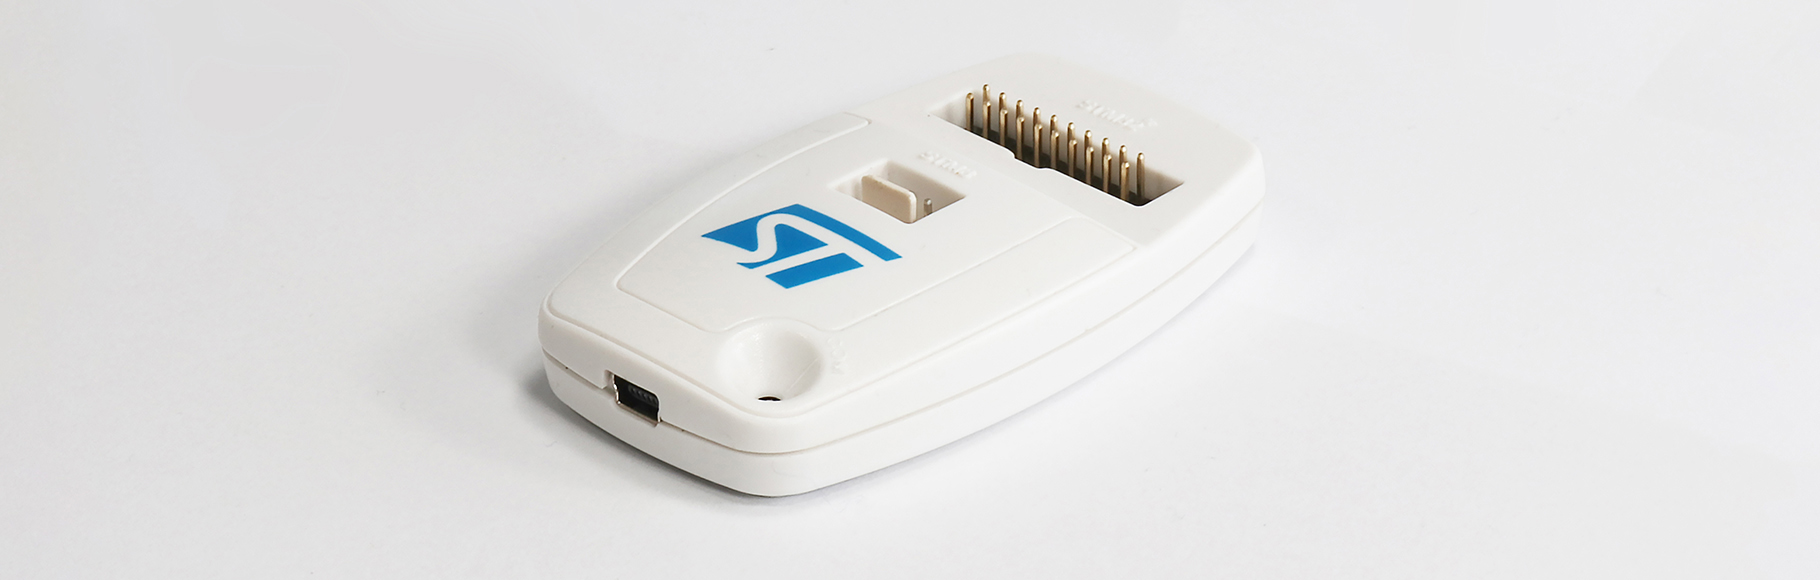
In this part of the curriculum, you are introduced to the interface for programming STM microcontrollers, CubeIDE. We will show how this interface facilitates the configuration of the controller and the creation of the software. Finally, we get to know the ST-Link programmer.
You can find the original example code for this chapter here
You can find the example code made for the videos for this chapter here
05 - Hardware Abstraction Layer
The author(s) of the chapter: Virág Erzsébet Szűcs
Now you can learn how the use of "Hardware Abstraction Layer" helps programming. Even in the case of the simplest programs, it speeds up the development time, "hides" the registers of the given controller, thereby helping the portability of the code.
You can find the original example code for this chapter here
You can find the example code made for the videos for this chapter here
06 - Debugging and Analysis (JTAG and SWD)
The author(s) of the chapter: Tamás Horváth , Gergely Lágler
Debugging and checking operation is an essential process of software development. Fortunately, nowadays we have a well-equipped toolbox at our disposal in order to find anomalies. In this tutorial, you can get to know the related functions of STM32CubeIDE and learn how to perform the debugging process itself.
You can find the original example code for this chapter here
You can find the example code made for the videos for this chapter here
07 - I/O Ports of the Microcontroller
The author(s) of the chapter: Kristóf Csököly
Now you can see how the microcontroller communicates with the other devices on the development board. We will show you how the input and output units are built, and what special functions each leg can perform. It also sheds light on how you can protect sensitive devices from unwanted effects, such as overvoltage and overcurrent.
You can find the original example code for this chapter here
You can find the example code made for the videos for this chapter here
08 - Serial Communication Lines Part I. (I2C, SPI)
The author(s) of the chapter: Béla Szabó
In this part, you learn about data transfer types and the differences between serial and parallel communication. You will learn how I2C and SPI communication is structured and how they can be used in practice.
You can find the original example code for this chapter here
You can find the example code made for the videos for this chapter here
09 - Human-Machine Interface
The author(s) of the chapter: Dávid Kulcsár
Have you ever wondered how we are able to connect with our electronic devices? The easiest way is with switches and indicator lights. Fortunately, the development of technology has not stopped, so we can now use various graphic displays for feedback. You can read more about these tools in this section of the curriculum.
You can find the original example code for this chapter here
You can find the example code made for the videos for this chapter here
10 - Serial Communication Lines Part II. (UART, CAN, USB)
The author(s) of the chapter: Dániel Csapó
In this part of the curriculum, you will learn about new types of serial communication. You can deepen your knowledge of the UART topic, find out how CAN (which is mostly used in vehicles) and USB (which has gone through many versions) are structured.
You can find the original example code for this chapter here
You can find the example code made for the videos for this chapter here
11 - A-D Conversion
The author(s) of the chapter: Máté Trádler
In this part of the course material, you can get to know the analog-to-digital converter (ADC), you can find out what steps are necessary to convert our analog signals into information that can be interpreted by the microcontroller. You can see what errors can occur during the conversion and how we can eliminate them, thus increasing the accuracy of the measurement.
You can find the original example code for this chapter here
You can find the example code made for the videos for this chapter here
12 - D-A Conversion
The author(s) of the chapter: Viktor Vincze , Gábor Baracsi
In this part of the curriculum, you will learn about the design of digital-to-analog converters (DACs) and the resulting error phenomena. You can examine the DAC in the STM32F4 microcontroller in detail and learn how to configure it according to the application through interesting examples.
You can find the original example code for this chapter here
You can find the example code made for the videos for this chapter here
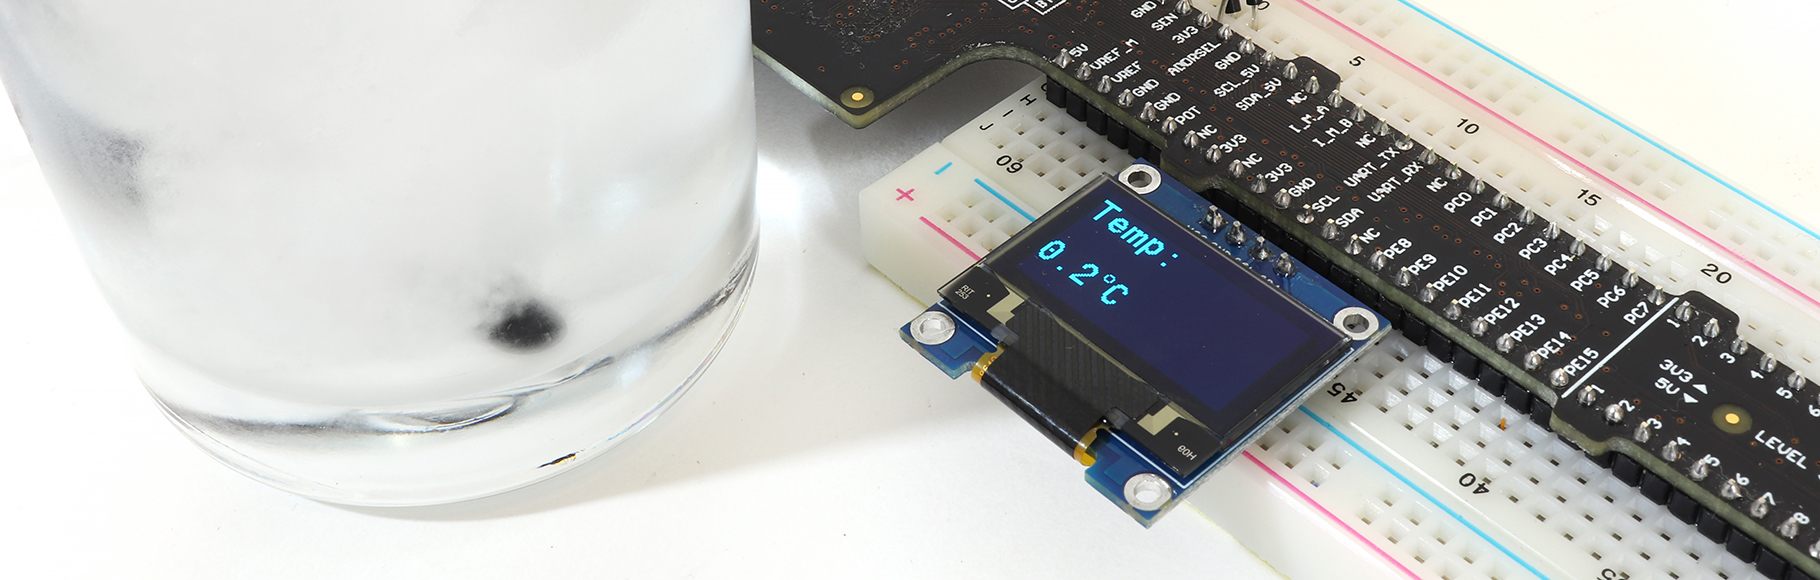
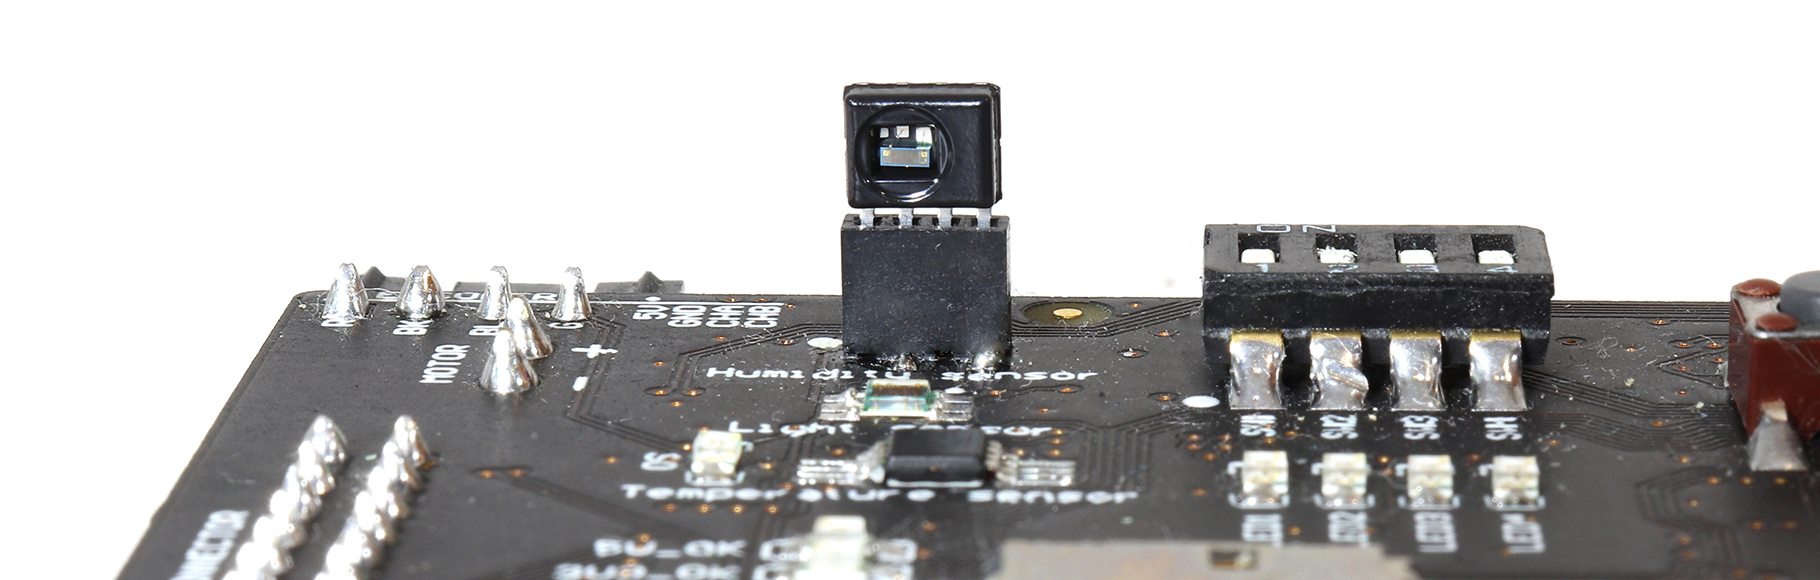
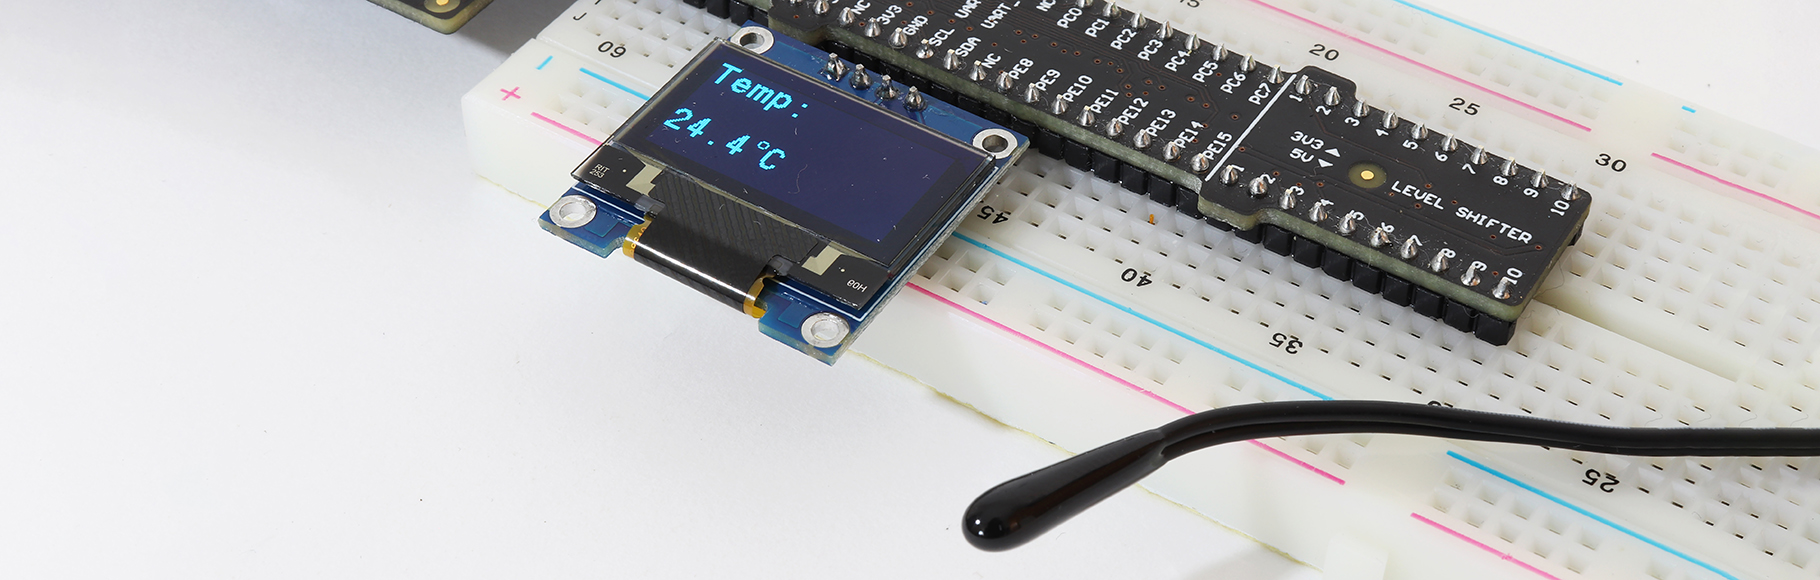
13 - Sensor Types and Their Applications
The author(s) of the chapter: Botond Csathó
In this chapter, you can learn about the operating principle and structure of the various sensors. You can expand your knowledge of temperature, pressure, humidity and, last but not least, light sensors, as well as their programming and use.
You can find the original example code for this chapter here
You can find the example code made for the videos for this chapter here
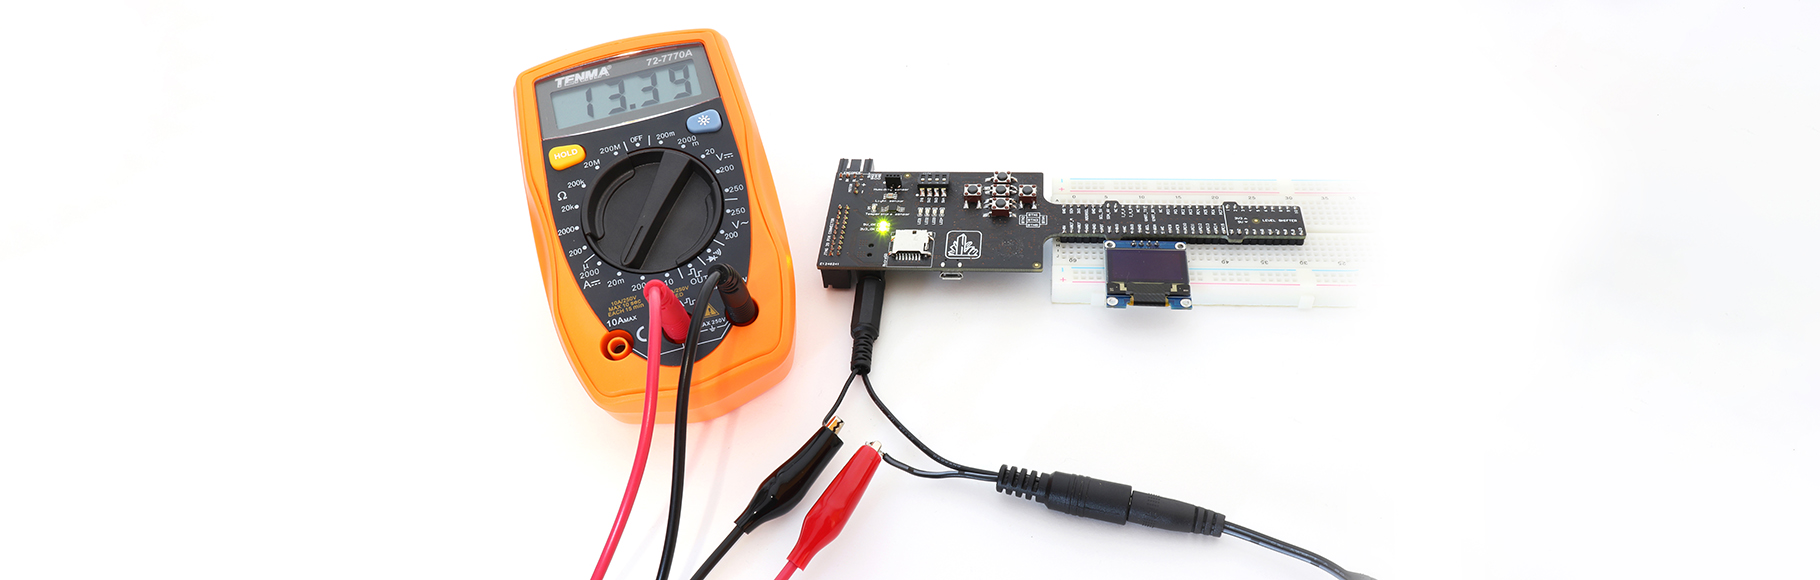
14 - Calibration of Sensors
The author(s) of the chapter: Gergely Palotás
In this part of the curriculum, you can get to know NTC and PTC temperature sensors in more detail, you can find out what correlations can be observed between the design of the sensors and the measurement results, and finally, with the help of a measurement arrangement, you can try how to calibrate a temperature sensor.
You can find the original example code for this chapter here
You can find the example code made for the videos for this chapter here
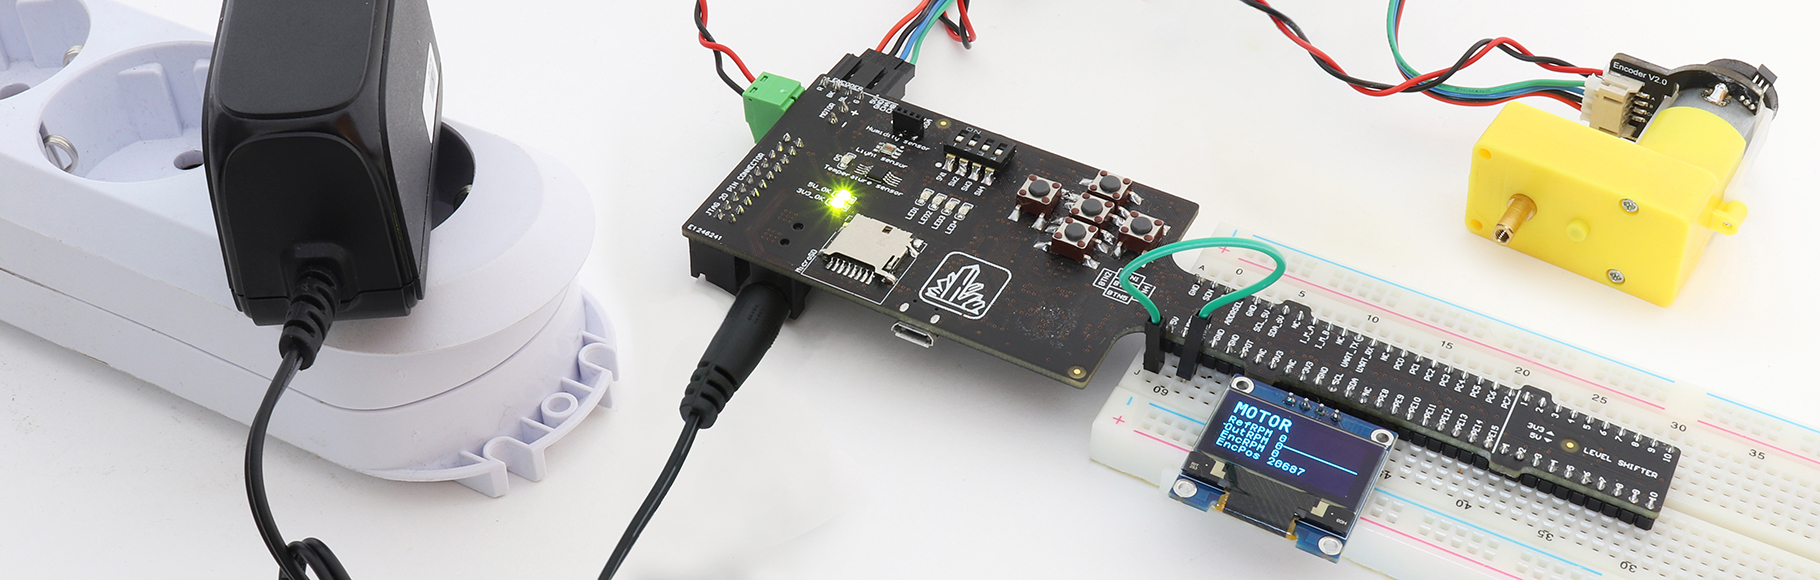
15 - Counter and Timer Units, WDT
The author(s) of the chapter: János Szalay
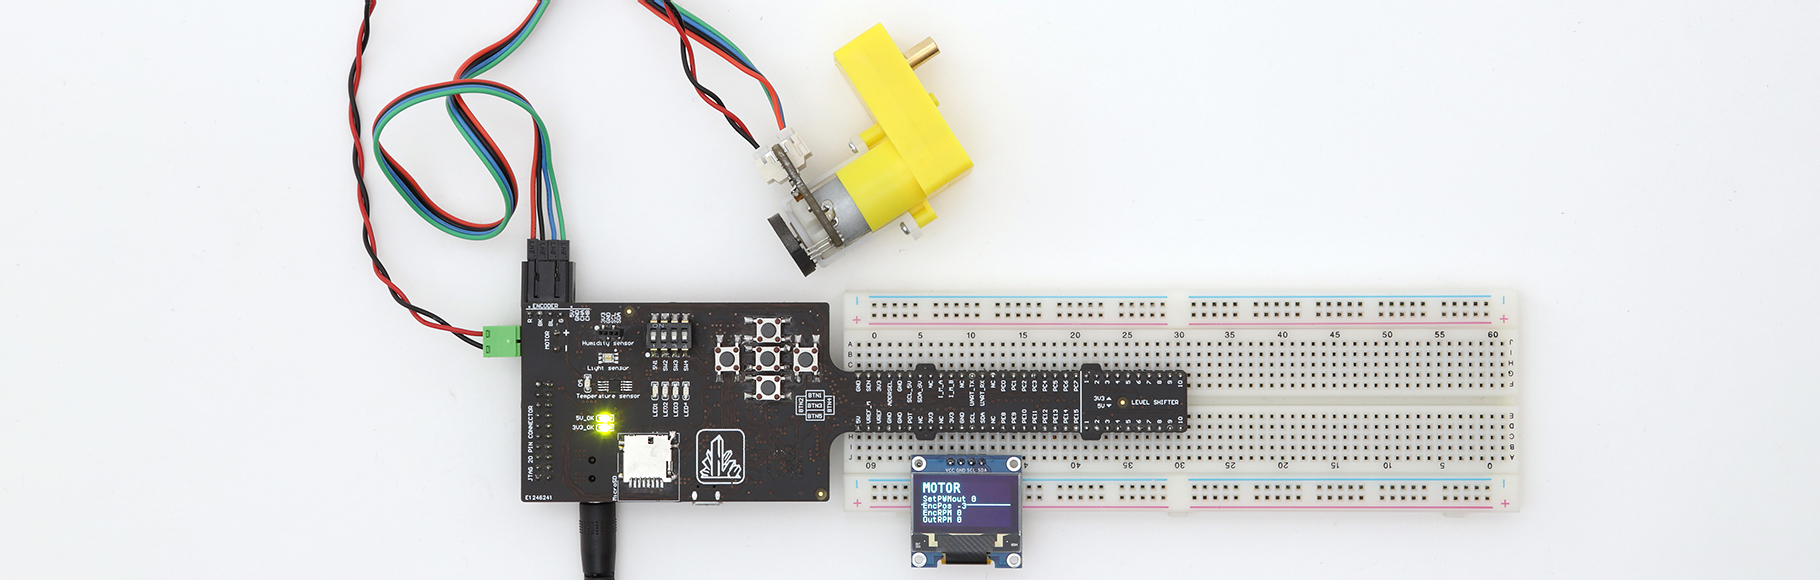
In this part of the study material, you will learn about the counter and timer peripherals of the microcontroller. You can learn how to apply PWM (Pulse Width Modulation) or how to connect an encoder to the appropriate inputs of the controller. Finally, through a vivid example, you can observe how the Watchdog timer helps to deal with errors caused by software jamming.
You can find the original example code for this chapter here
You can find the example code made for the videos for this chapter here
16 - Real-time Clock
The author(s) of the chapter: Gábor Kalmár
Have you ever wondered how our various devices are always able to show the correct time? The RTC (Real Time Clock) peripheral enables high-precision time measurement, and some types also offer calendar functions. In this tutorial, you can learn how this very useful accessory is built and how you can use it in different areas.
You can find the original example code for this chapter here
You can find the example code made for the videos for this chapter here
17 - Control of Motors
The author(s) of the chapter: Dániel Szabó
In this chapter, you can learn about the different types of electrical machines and their fields of application. You can gain an insight into the world of machines operating with direct current (DC) and alternating current (AC). Through examples, you can experience what steps are necessary for an electric motor to start rotating and to be able to control it.
You can find the original example code for this chapter here
You can find the example code made for the videos for this chapter here
18 - P, PI, PD, PID Controllers
The author(s) of the chapter: Gergő Herángli
In this tutorial you will learn the difference between regulation, open-loop and closed-loop control. You can learn about the stability conditions and dynamic properties of regulations. Last but not least, you will get to know the most frequently used regulatory structures.
19 - Implementing Simple P and PI Controllers
The author(s) of the chapter: Ádám Szabó
With the help of this part of the curriculum, you can test your theoretical knowledge of regulation in practice. You will learn how simple open-loop, P and PI controllers can be implemented using a microcontroller. You can also find interesting information about how the control parameters can be tuned and of course you can try them yourself!
You can find the original example code for this chapter here
20 - Power Requirements of Microcontrollers
The author(s) of the chapter: László Iványi
We want to use our portable devices as long as possible, so it is essential to reduce consumption, in this part of the curriculum you will learn about the energy requirements of the microcontroller and the various peripherals, their modes of operation and how lower energy levels can be achieved.
You can find the original example code for this chapter here
21 - Simple Real-Time Operating Systems
The author(s) of the chapter: Endre Szesztay
In this part of the curriculum, we present the role and behaviour of an operating system in embedded systems, and explain when it is worth using it. In addition, the mechanism of the scheduler, management of events and shared resources are also introduced.
22 - Using a Real-Time Operating System (FreeRTOS)
The author(s) of the chapter: Csaba Apró
In the previous chapter, you already learned about the general structure of embedded operating systems, now with the help of a specific system, FreeRTOS, you can try out in practice how to program in a real-time operating system, what programming technical errors can occur and how you can protect yourself against them.
You can find the original example code for this chapter here
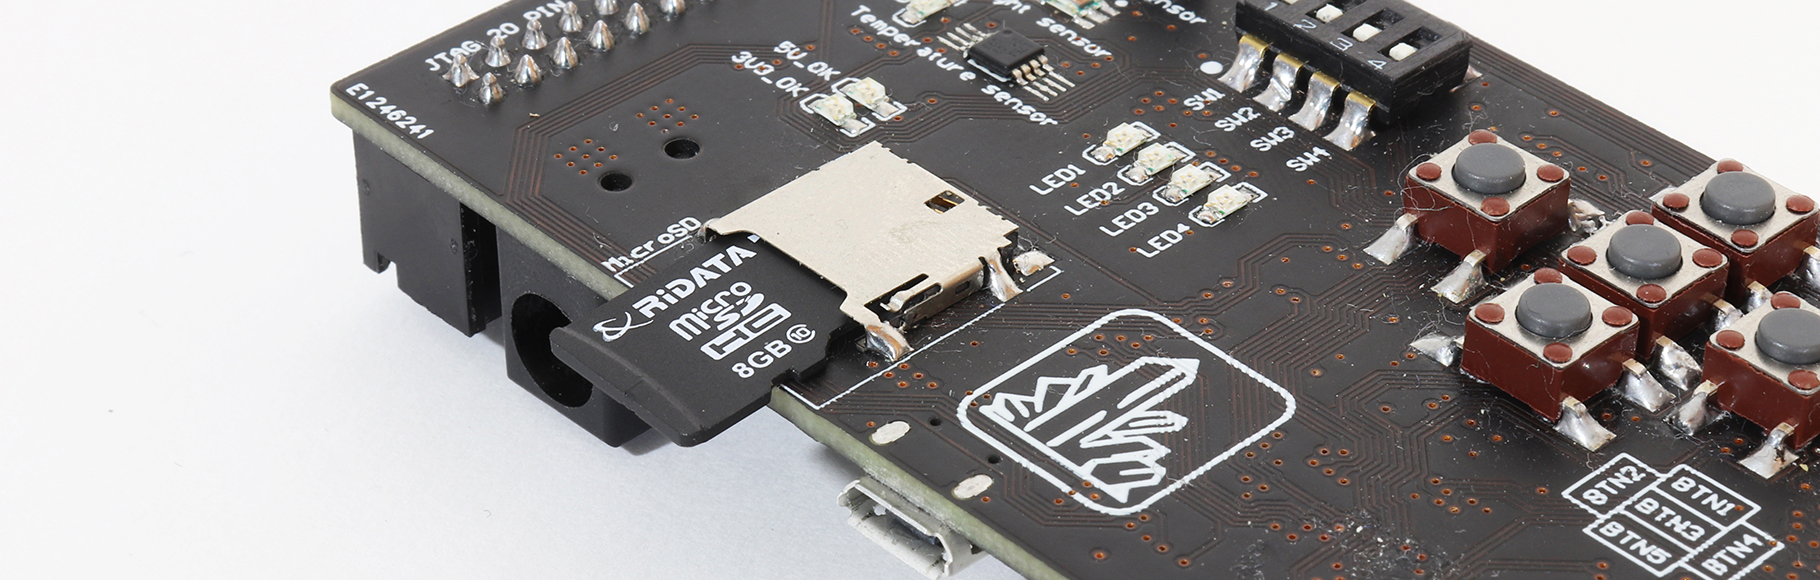
23 - File Systems, SD Card
The author(s) of the chapter: Szabolcs Veréb , Péter Buzás
In this part of the curriculum, you can find out what is hidden under the plastic case of SD cards. You will learn about the factors that affect the lifetime of cards, the diverse file systems used by different devices, and the HAL functions that help moving data.
You can find the original example code for this chapter here
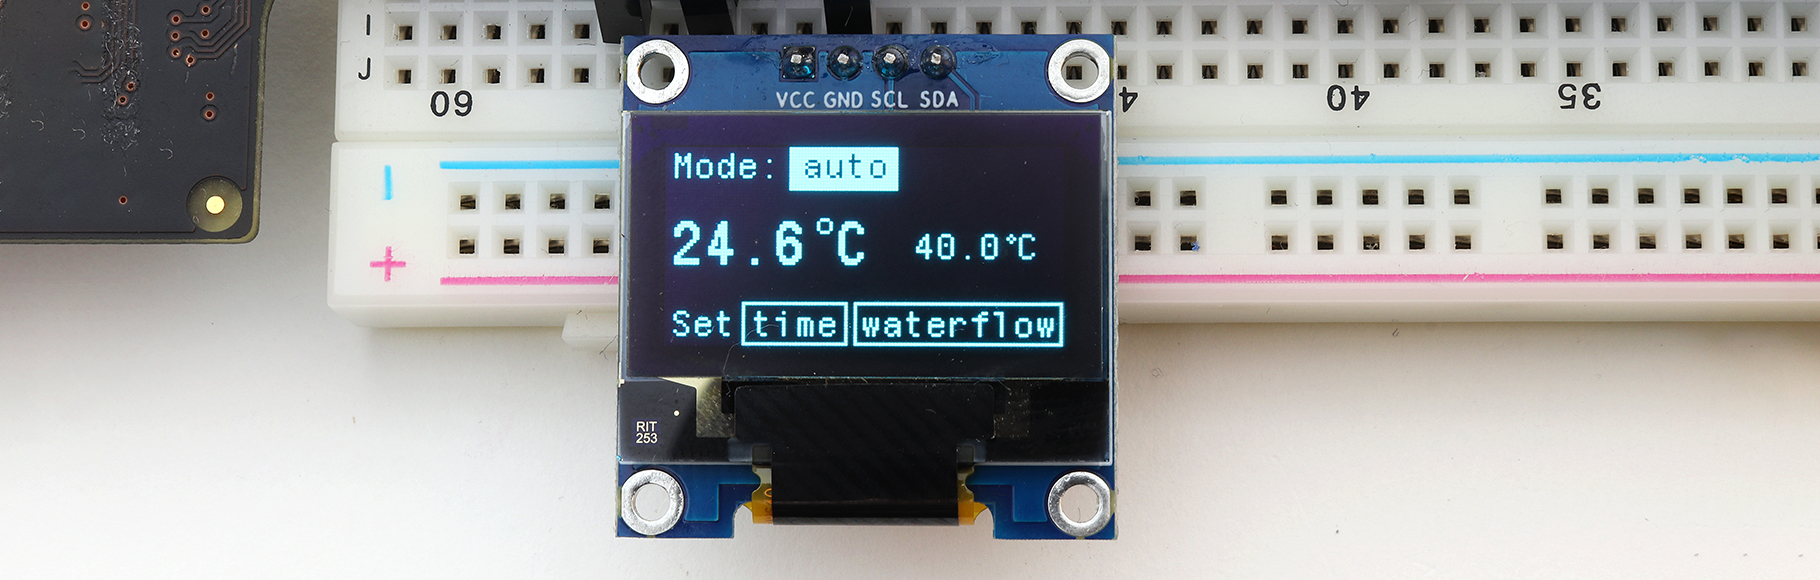
24 - Complex Summary Application Using Examples From the Course Material
The author(s) of the chapter: Péter Girgász
Based on the knowledge we have acquired so far, we will design and make a regulator with which we can adjust the water temperature of the shower. Through this example, we demonstrate the steps that guides you through the preparation and implementation of such a project.
You can find the original example code for this chapter here
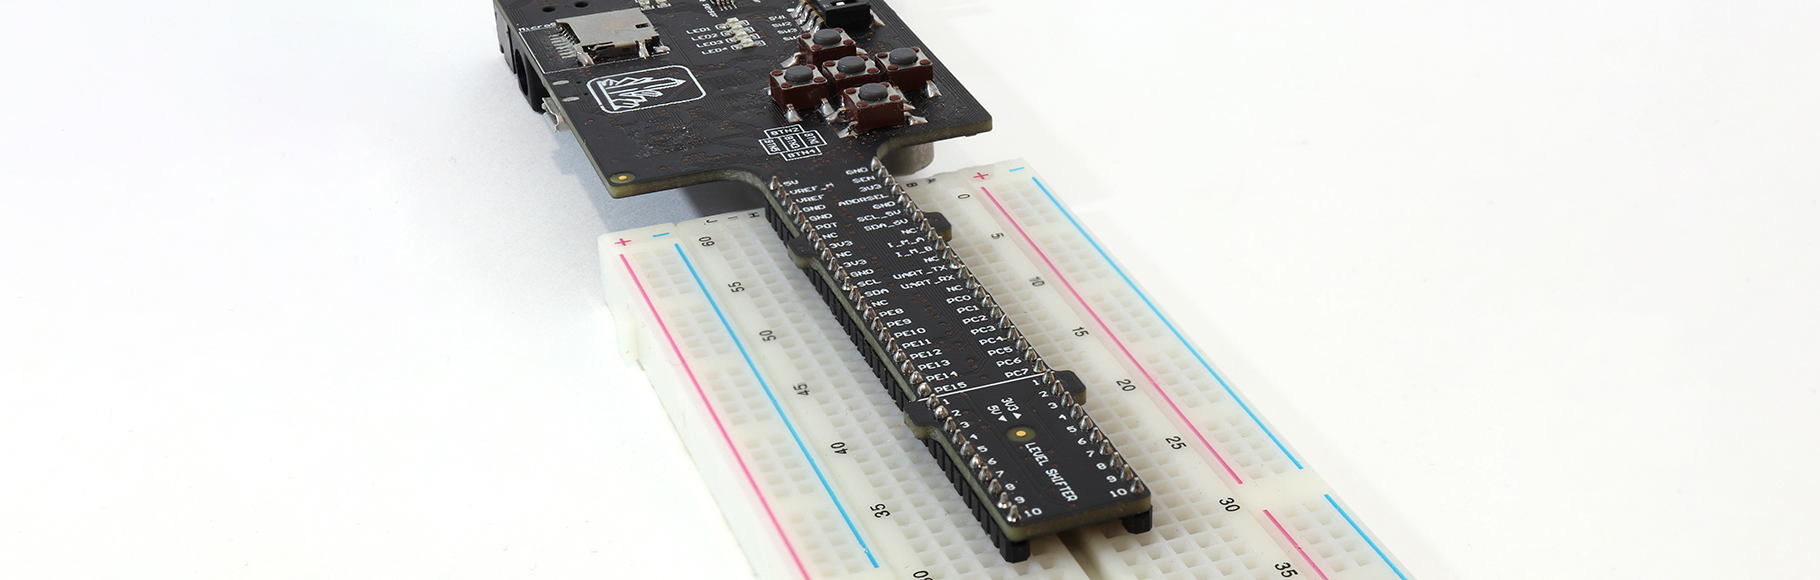
Currently recommended development tools and components
We have prepared a summary table in which you can find which STM32 development card (Nucleo / Discovery) and which additional elements you can use to try out what is described in the course material.
The example codes must be rewritten (ported) according to the given card, but you will find help for this in the first chapters of the course material.
For example, when creating a project in STM32CubeIDE, you select the available board, then in the hardware configurator you set the device according to the example code.
The project can then be compiled by copying the appropriate files of the example codes.
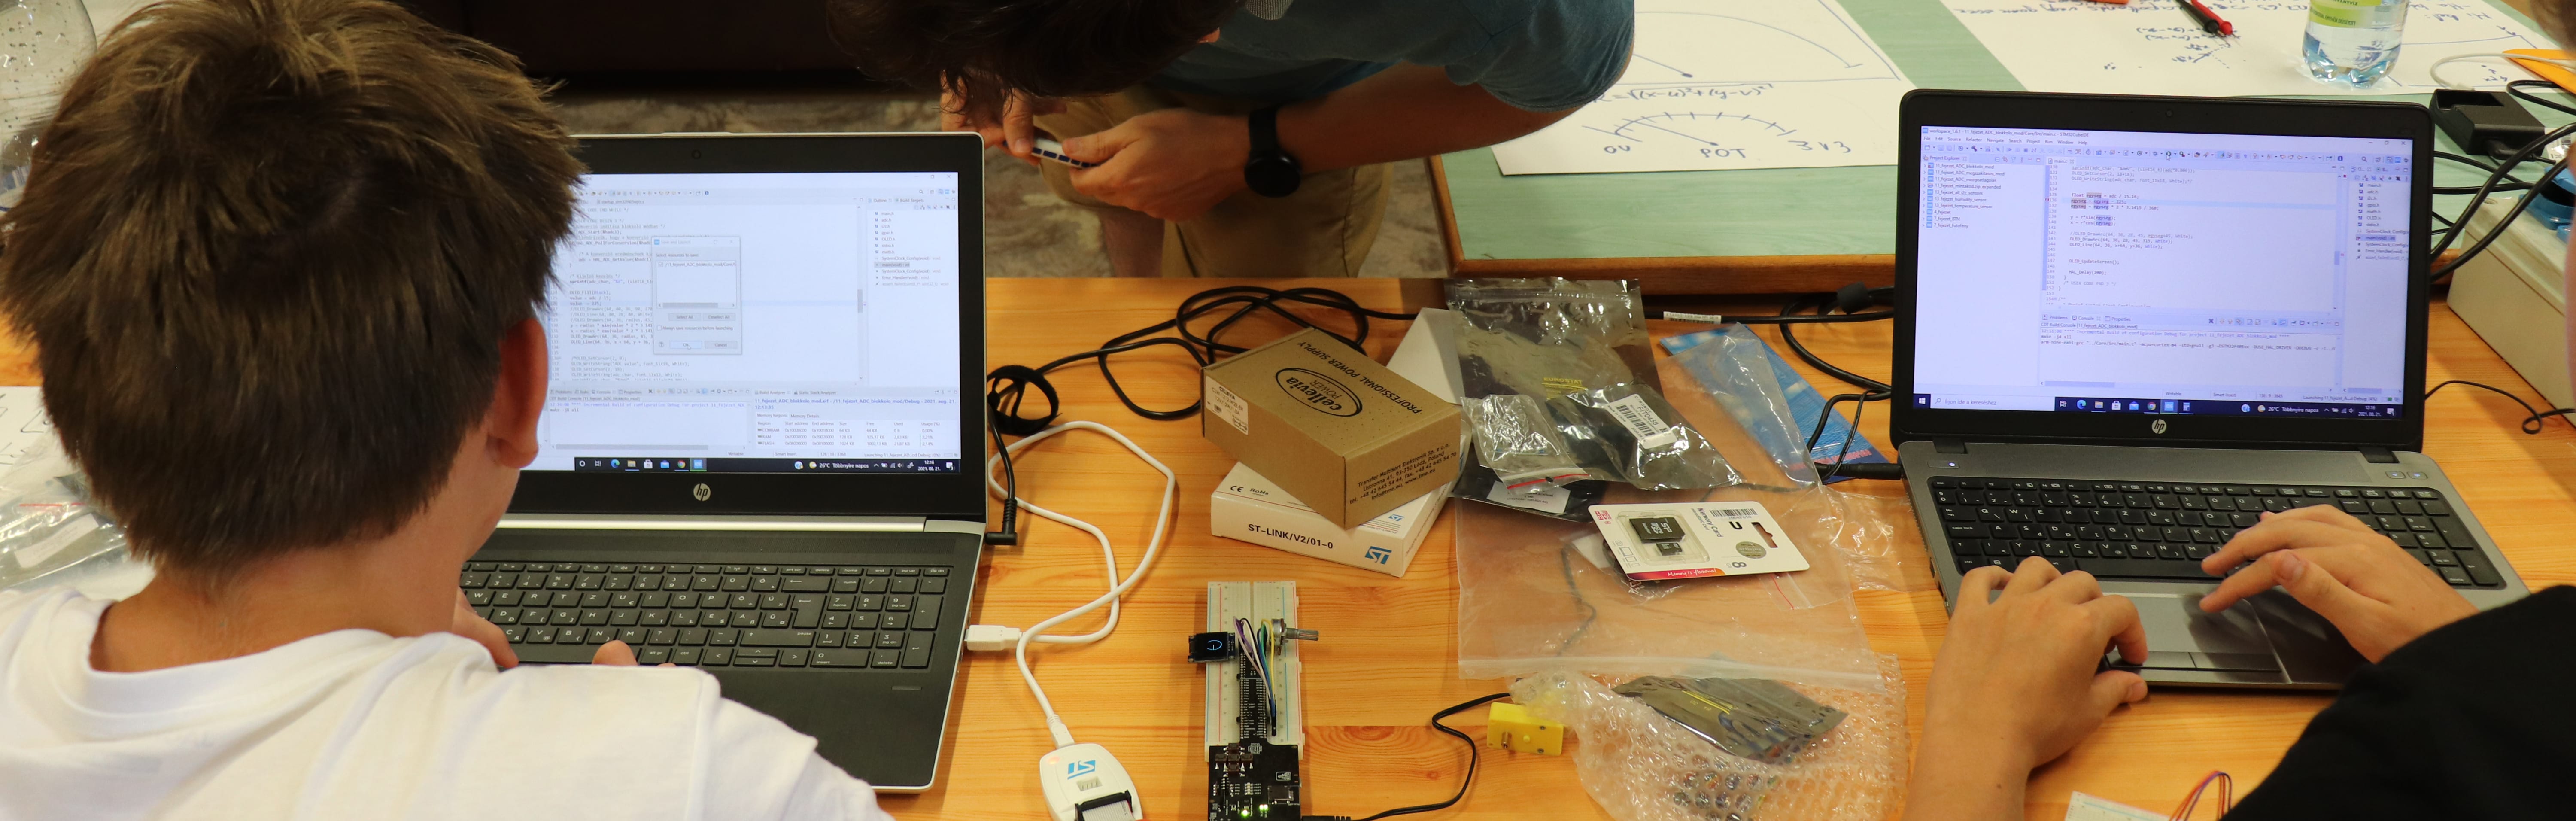
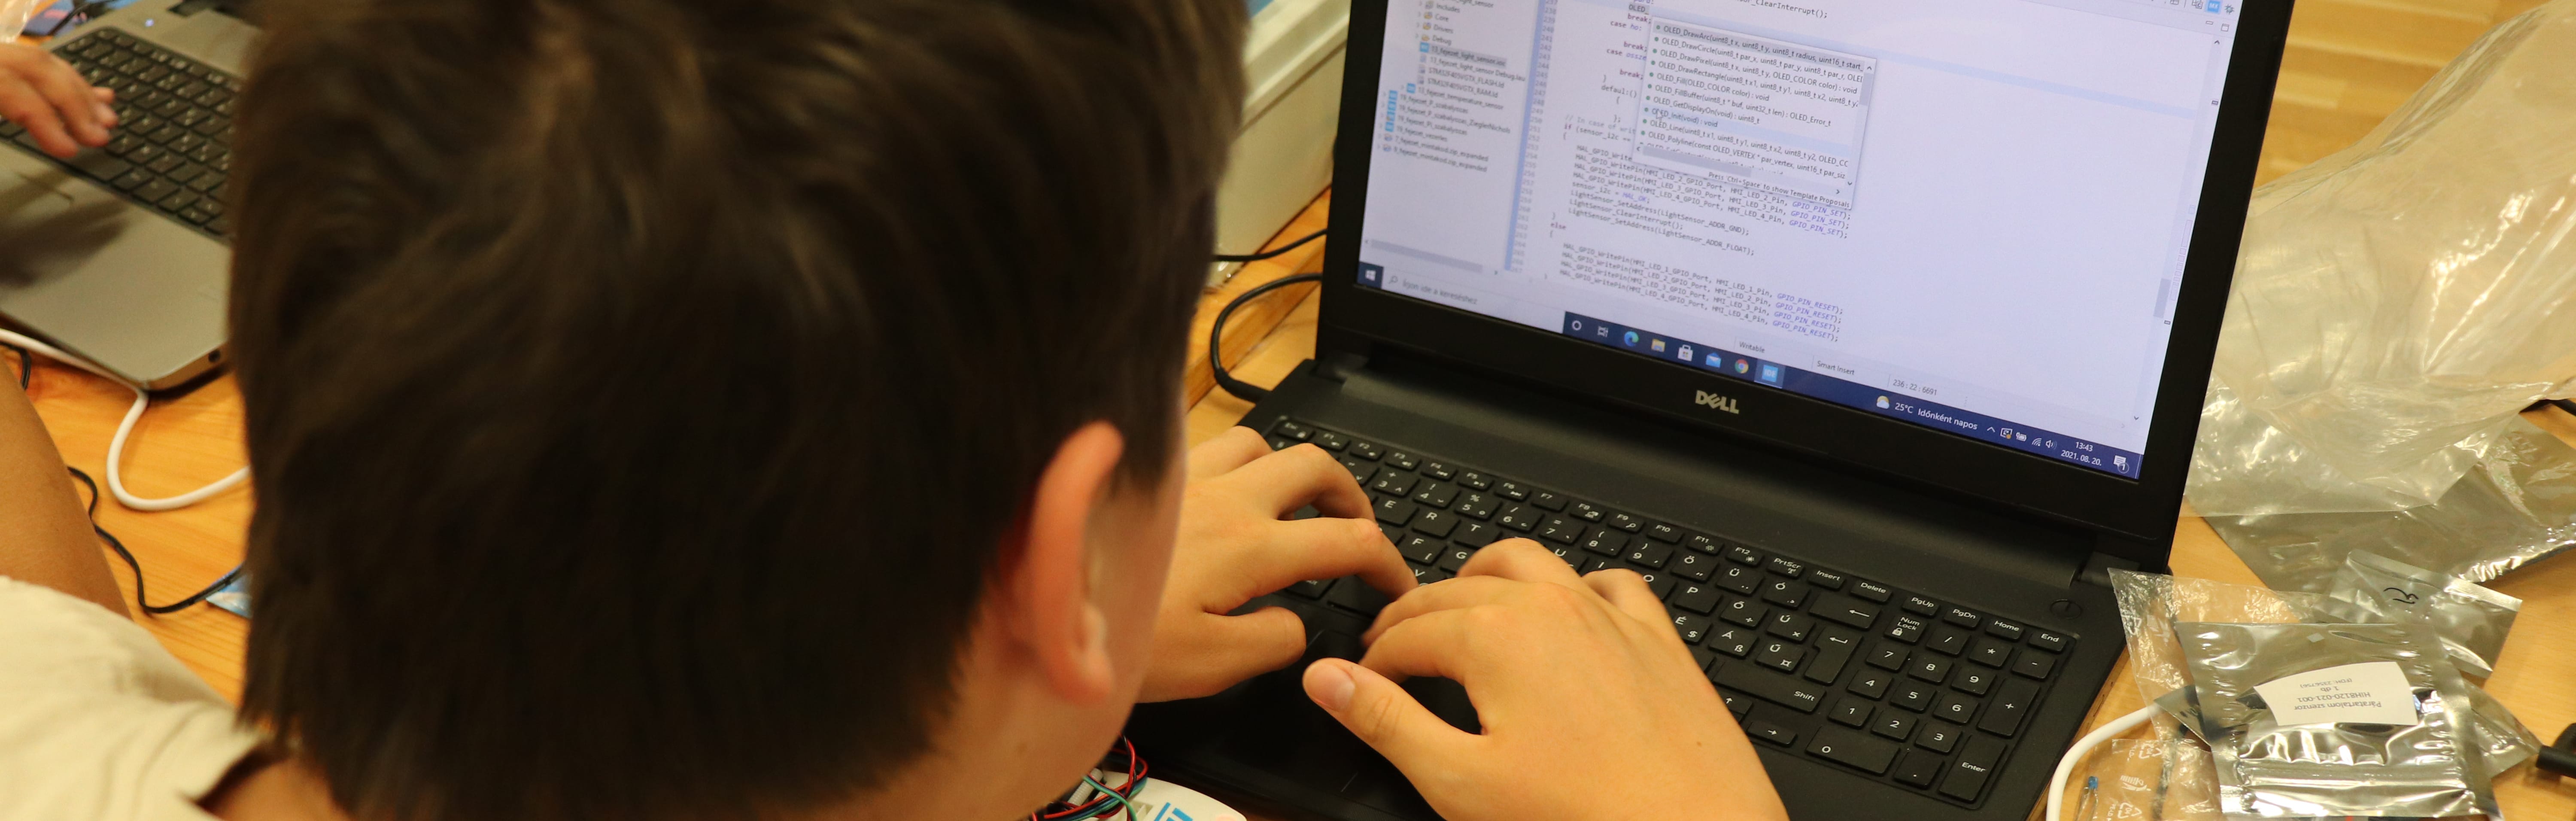
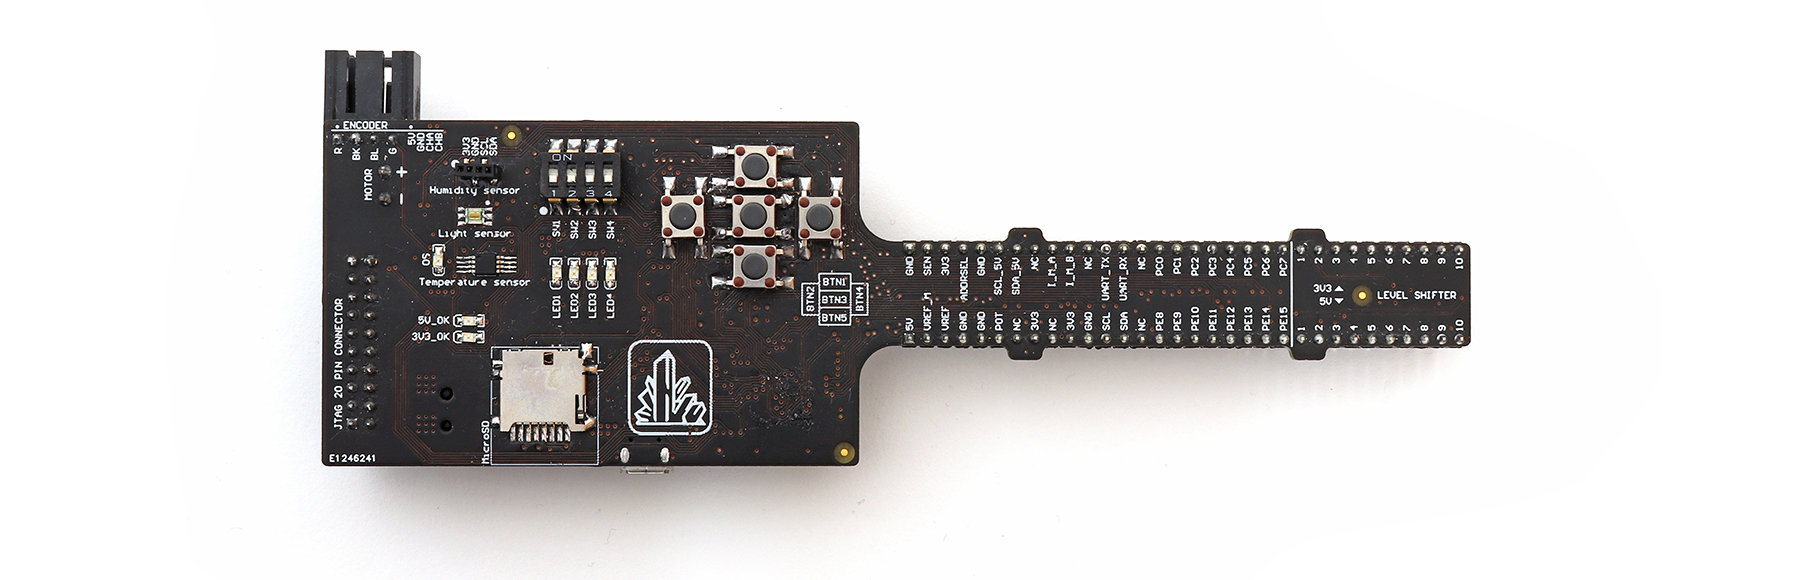
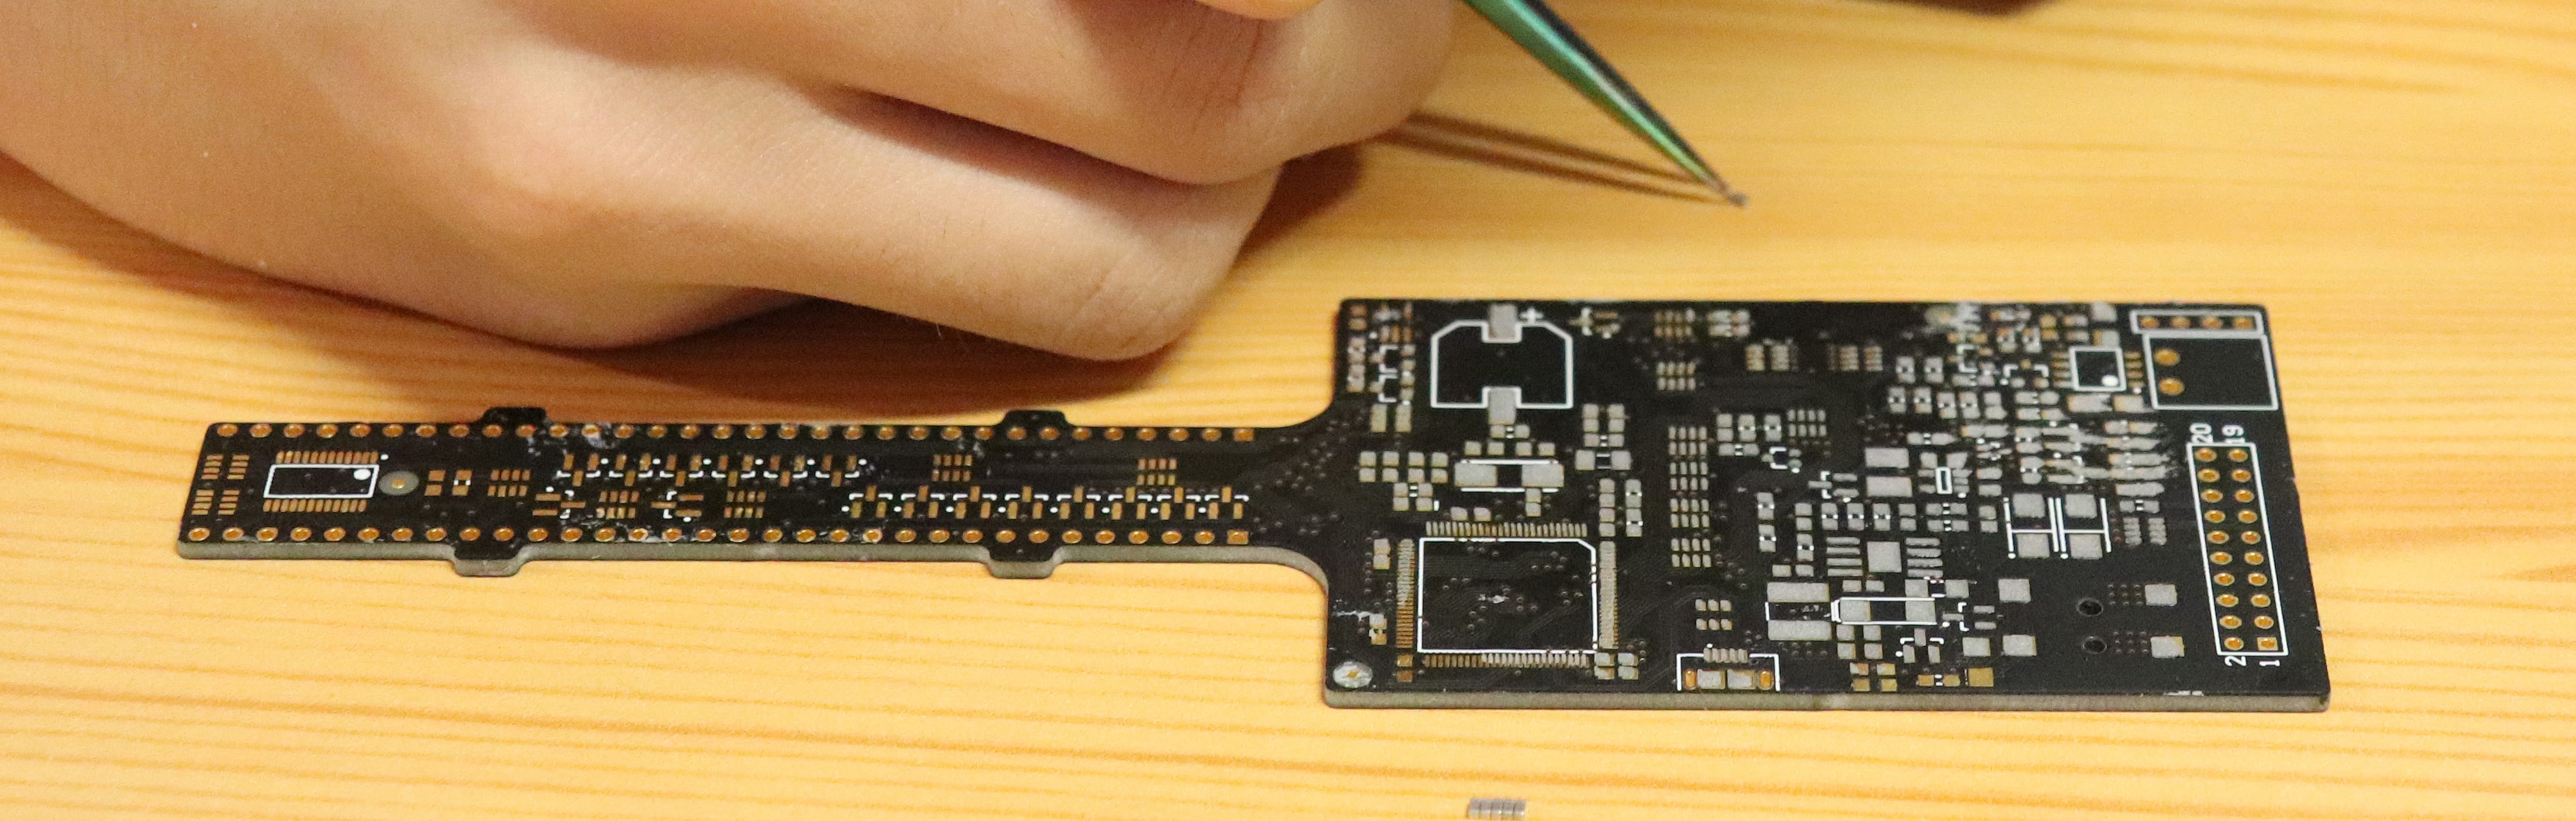
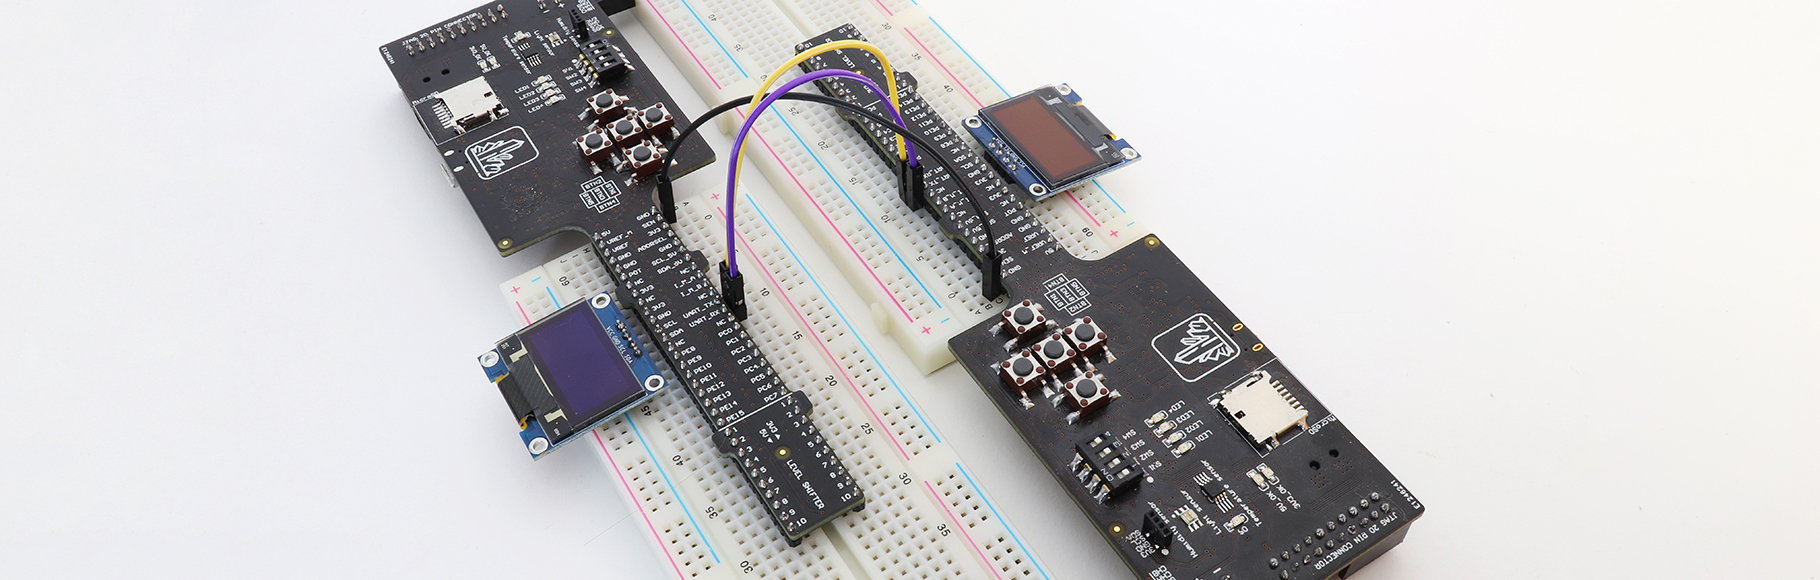
In the schools that test the curriculum, the students use a unique development card that can be seen in the curriculum, but we have not yet found a suitable opportunity to produce it. The suggestions in the table above offer cheap, full-featured, generally available solutions.